Appearance
Creating Documents
Single Document Creation
Navigating: Click "Add Document" in the sidebar or use the Quick Actions dropdown.
Step-by-step:
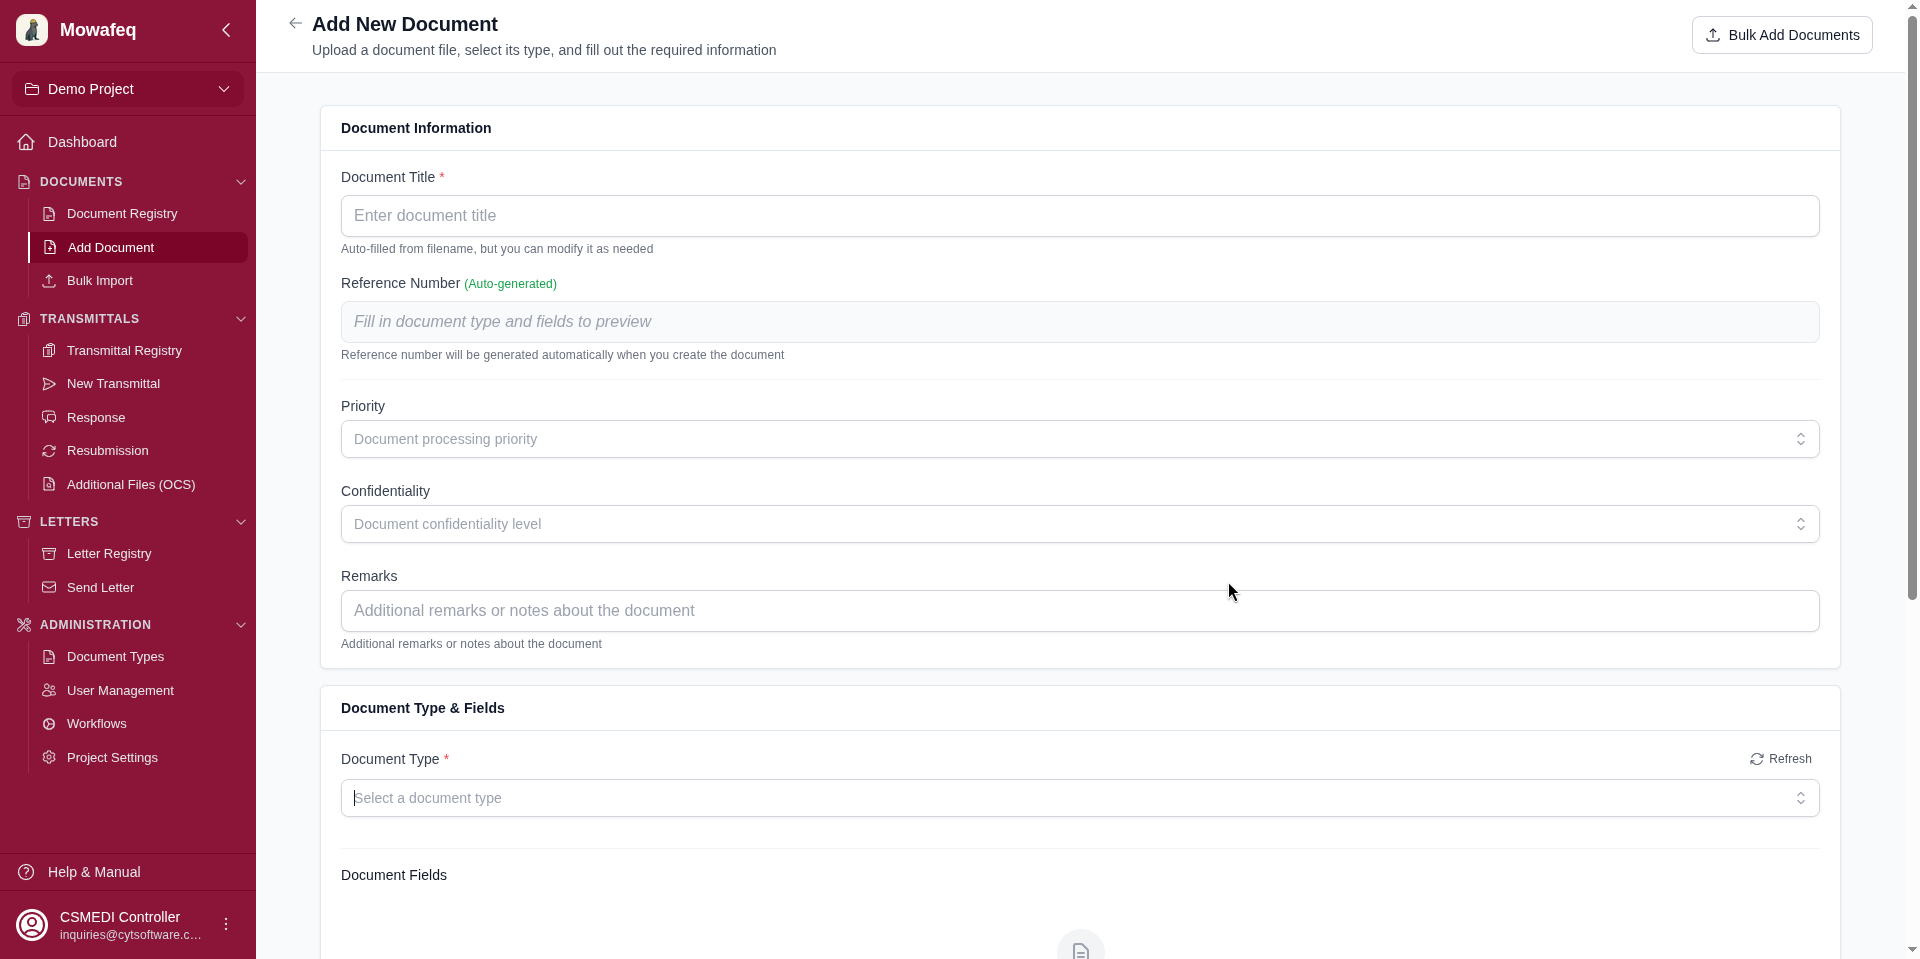
1. Enter Title: Type a document title. If left blank, it will auto-populate from the first uploaded file's name.
2. Reference Number:
- If the project has an active numbering format: The reference is auto-generated. A live preview appears once the document type and all type fields are filled. No manual entry is needed.
- If no numbering format is configured: Enter the reference number manually.
3. Fill Custom Fields (if configured): Project-level custom fields appear below the type fields. These may be text, number, date, single-select, or multi-select. Each field is marked as required or optional.
4. Select Document Type: Choose from the dropdown of active document types. This determines which type-specific fields appear.
5. Fill Document Type Fields: After selecting a type, dynamic dropdown fields appear (e.g., "Discipline", "Area"). All type fields are required.
6. Upload Files: Click the upload area or drag and drop files. At least one file is required. Multiple files are supported. Files upload directly to cloud storage in the background.
7. Tag (optional): Enter a grouping tag for bulk operations.
8. Click "Create Document": The document is created and you are navigated back to the registry.
Bulk Import
Navigating: Click "Bulk Import" in the sidebar.
The bulk import wizard has six steps:
Step 1 — Upload Assets
- Upload an Excel file containing document metadata (must have at least a "Reference" column).
- Upload the corresponding document files.
- Select the operation: "Create" for new documents, or "Revision" for updating existing documents.
Step 2 — Preview Excel
- The system reads the Excel file and displays the first 3 rows.
- Auto-detected column mapping is suggested.
Step 3 — Column Mapping
- Map each Excel column to a document field: Filename, Reference, Title, Revision, Version, and document type fields.
- Optionally download a pre-configured Excel template with dropdown validation for field options.
Step 4 — Validate
- A dry-run validates all rows without creating any documents.
- Each row shows: action (create/revision/version/error), current and new revision/version numbers, and any validation errors or conflict warnings.
- A summary shows total rows, ready count, errors, and breakdown by action type.
Step 5 — Start Import
- Queues a background import job.
- Optional settings: tag for all imported documents, custom field values, per-document overrides.
Step 6 — Monitor Progress
- Track the job status: Pending, Running, Completed, Failed, or Cancelled.
- View counts: total, processed, successful, failed.
- View per-document error details.
- Cancel a running job if needed.